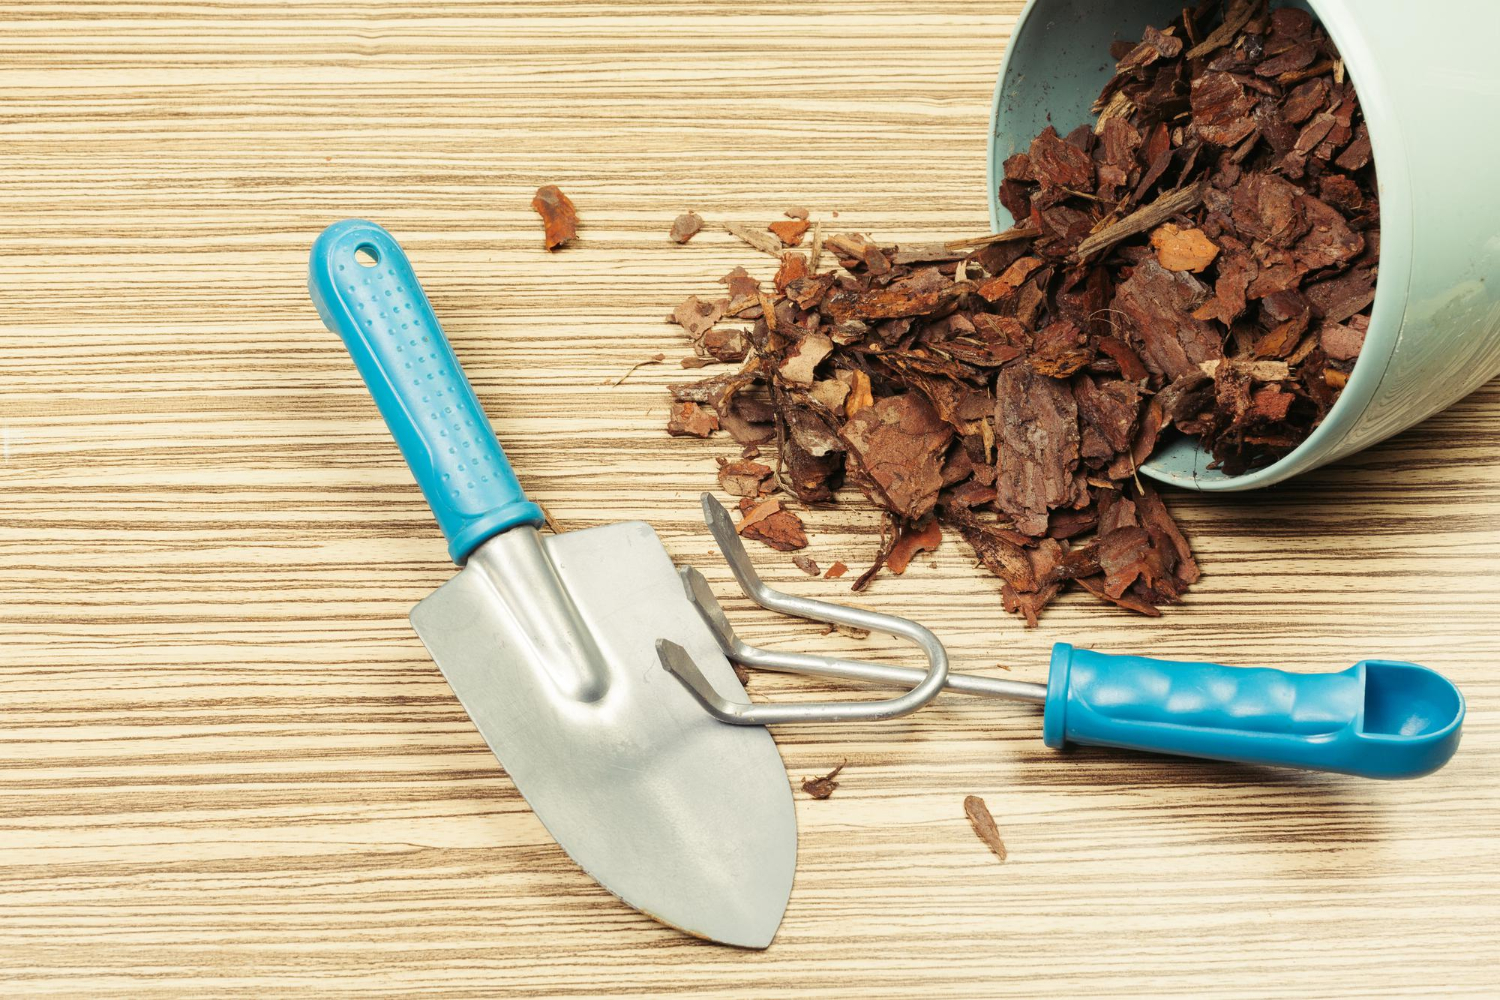
Repotting an orchid is a vital part of its care routine, ensuring its continued health and vigor. To begin, select a potting mix tailored for orchids, typically composed of materials like bark, perlite, charcoal, and sparingly, sphagnum moss to avoid potential issues with root rot. Gently remove the orchid from its current pot, delicately untangling the roots to inspect their condition and remove any signs of decay. Trim any excessively long or damaged roots using sterilized tools to prevent the spread of disease.
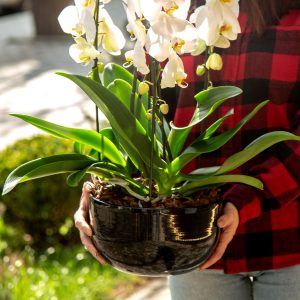
Next, choose a new pot that is only slightly larger than the orchid’s root system, as orchids thrive in snug quarters. Layer the bottom of the pot with fresh potting mix, then position the orchid in the center, spreading its roots evenly. Fill the remaining space with additional potting mix, lightly compacting it to ensure stability. Water the newly repotted orchid thoroughly, allowing any excess water to drain away. Finally, place the orchid in an area with suitable light and humidity levels, and closely monitor its adjustment to its new surroundings. With proper care and attention, your orchid will flourish in its rejuvenated environment, rewarding you with stunning blooms for years to come.